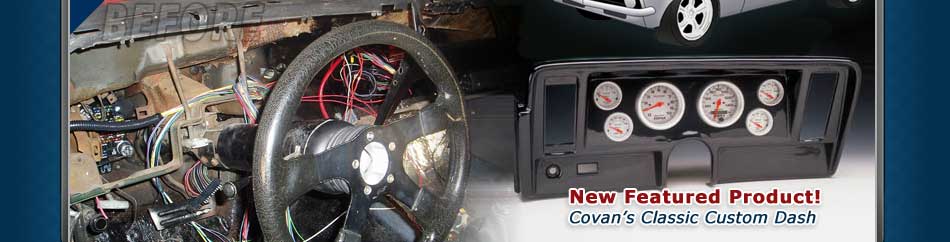
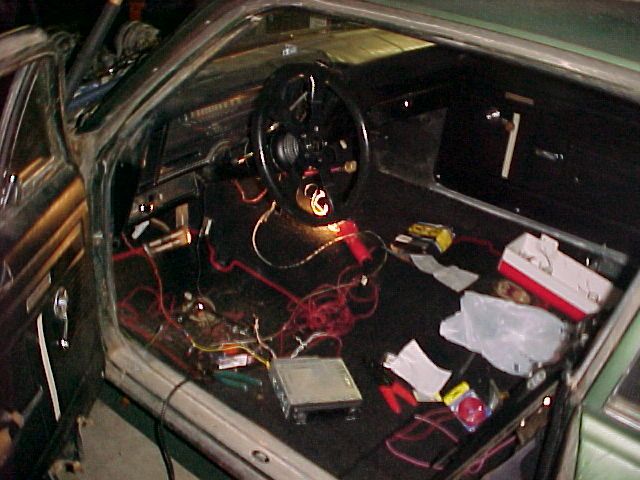
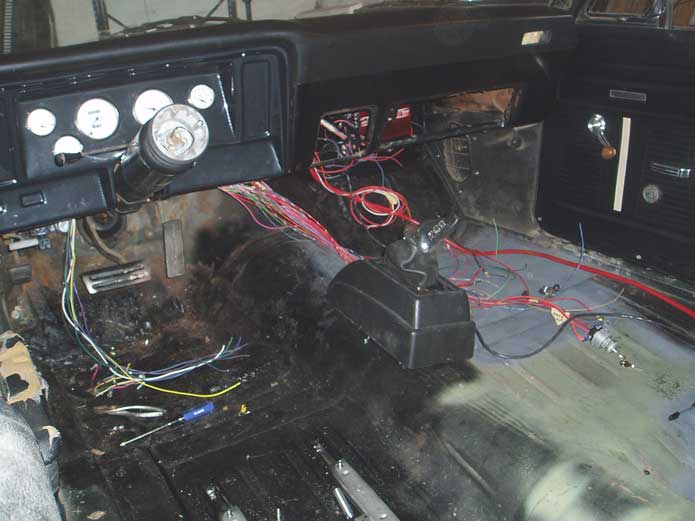
When we picked up our project car, it didn't have a dash panel or a dash pad at all. The previous owner decided to remove the stock instrument cluster and make a custom dash himself, but I guess he never got around to it. So instead of spending dozens and dozens of hours fabricating up a completely custom dash for our Nova, we decided to use Covan's Classic.
Unfortunately, some of the metal brackets for the original dash had been bent out of shape, so first we had to address that issue. Using some simple tools, we just bent, kicked, and beat it get is as close to original as possible.
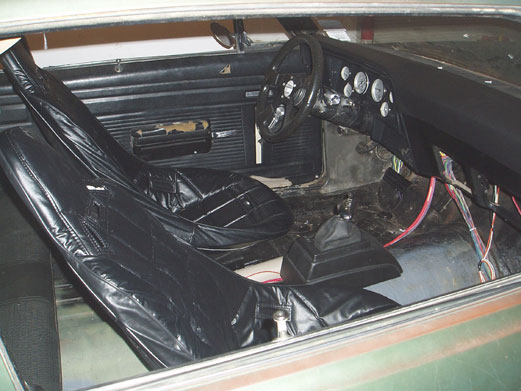
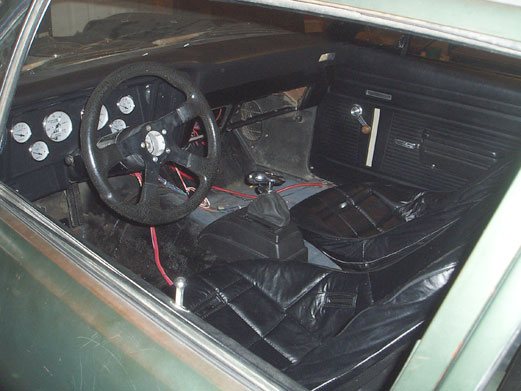
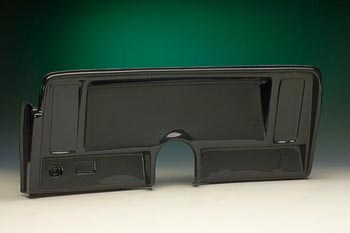
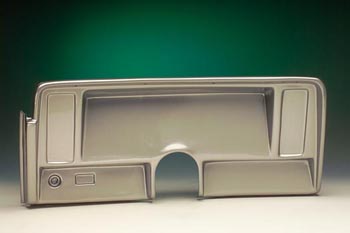
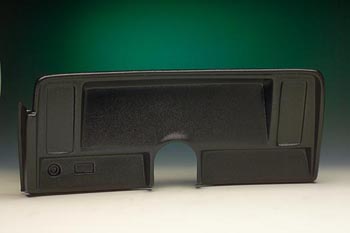
We opted for the un-drilled carbon fiber dash for our build. We already had a set of AutoMeter gauges from the original owner that are going to look really cool with the new paint job.
To drill our holes, we simply measured the dash, created a template on the computer with the same dimensions, made 4 small and 2 large circles the same diameter as our gauges, printed it on legal paper, and cut out our holes. Before we taped the template to the dash we used masking tape to cover the entire face of the dash where we were going to drill. Then we taped the template to the dash, marked the holes and removed the template.
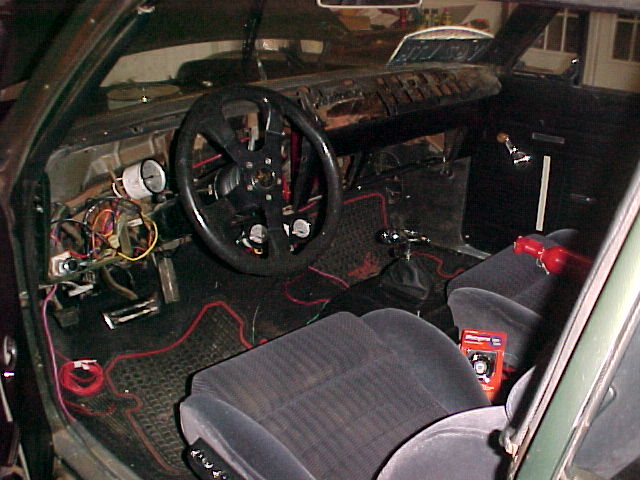
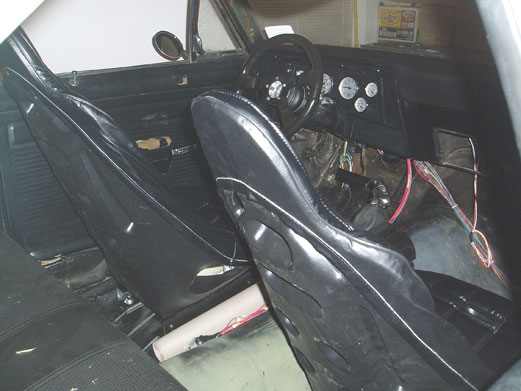
Once our holes were drilled and the gauges were installed and wired up, it was time to install it in the car. Make sure your dash pad is not installed at this time. You will more than likely have to remove the 2 nuts holding the steering column in place to get enough room to install the dash.
With the steering column hanging a few inches lower, we placed the new Covan's Classic dash in place, and used the pre-drilled holes and existing screws to secure it in place. And that was it, we were done. It was almost a perfect fit. We say almost because some of the mounting brackets were still a little bent from when we got the car.
We still need to install the carpet and finish up some of the final wiring, as well as secure the wires under the dash once everything is in position and working correctly.